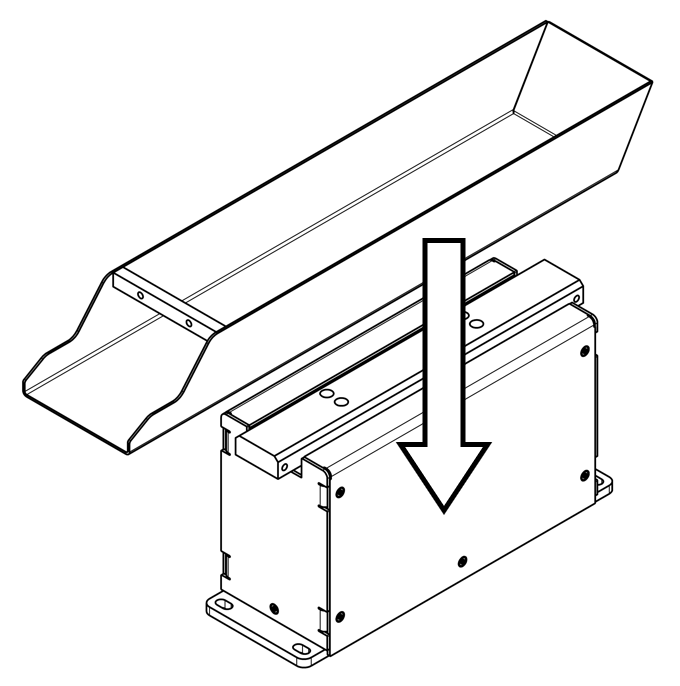
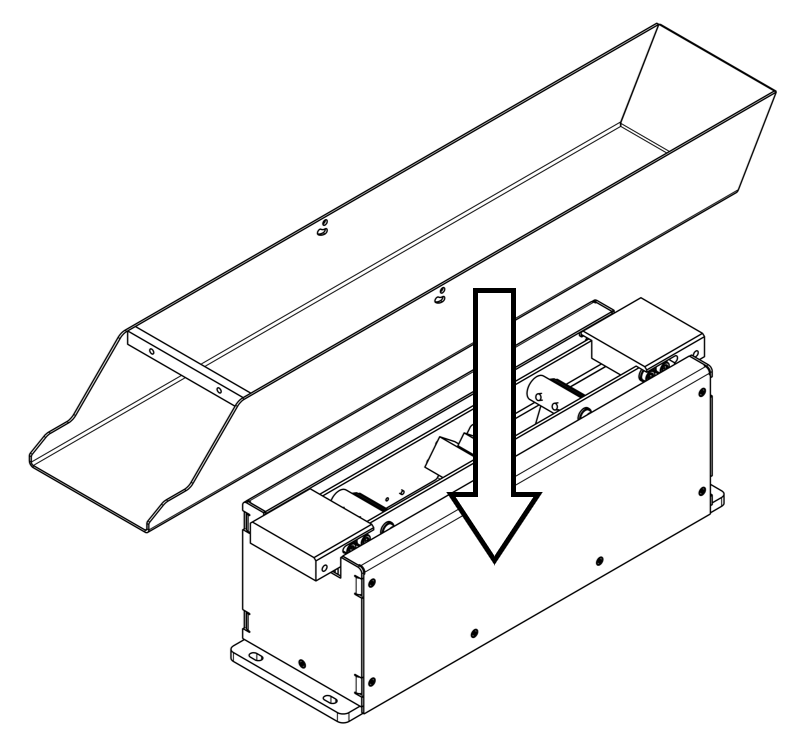
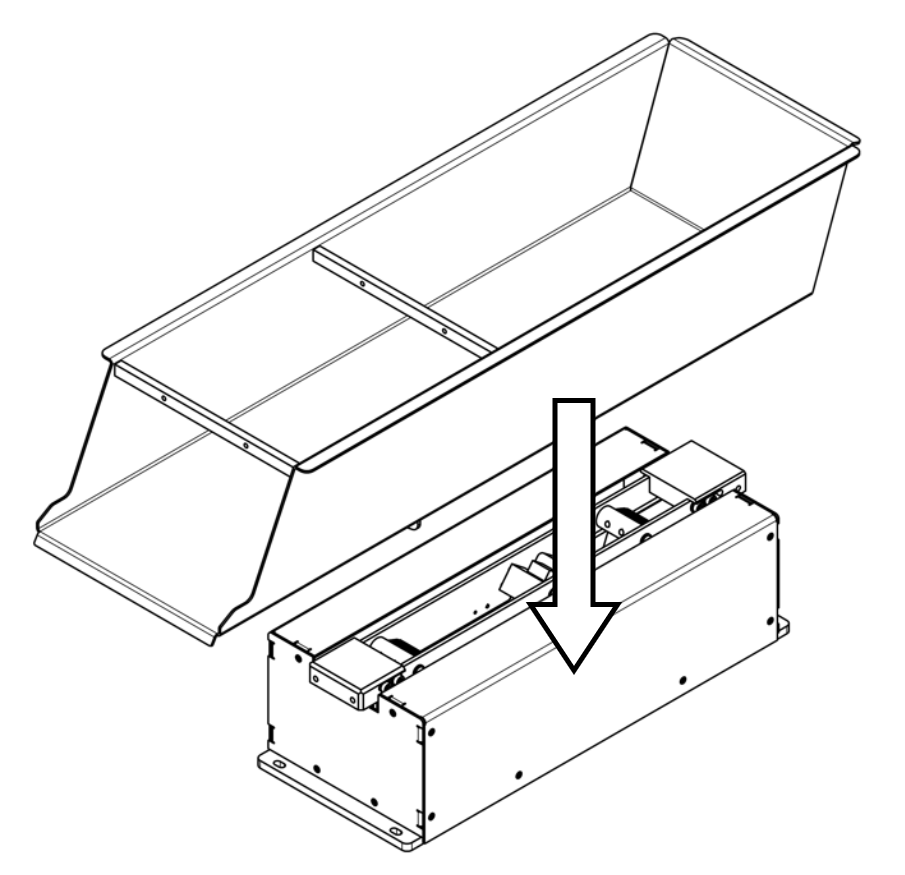
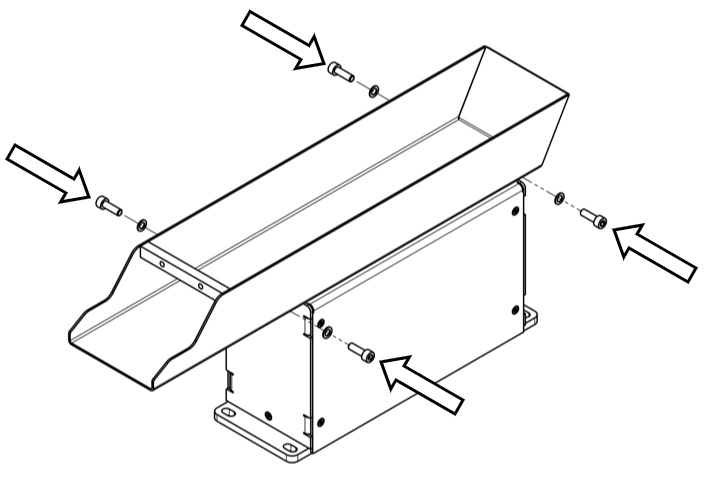
Assembling the container
Caution
Risk of pinching. Do not place your finger between the container and its actuator base.
Caution
Asyfill should not be powered before the installation of the container. Ensure that all cables are unplugged when installing the container.
Asyfill type |
Container screws |
Tool required |
Fixation torque |
|---|---|---|---|
Asyfill S 1/2L |
M5 |
Imbus key 5 |
5.5 Nm |
Asyfill M 3/7L |
M6 |
Imbus key 5 |
9 Nm |
Asyfill L 14L |
M6 |
Imbus key 5 |
9 Nm |
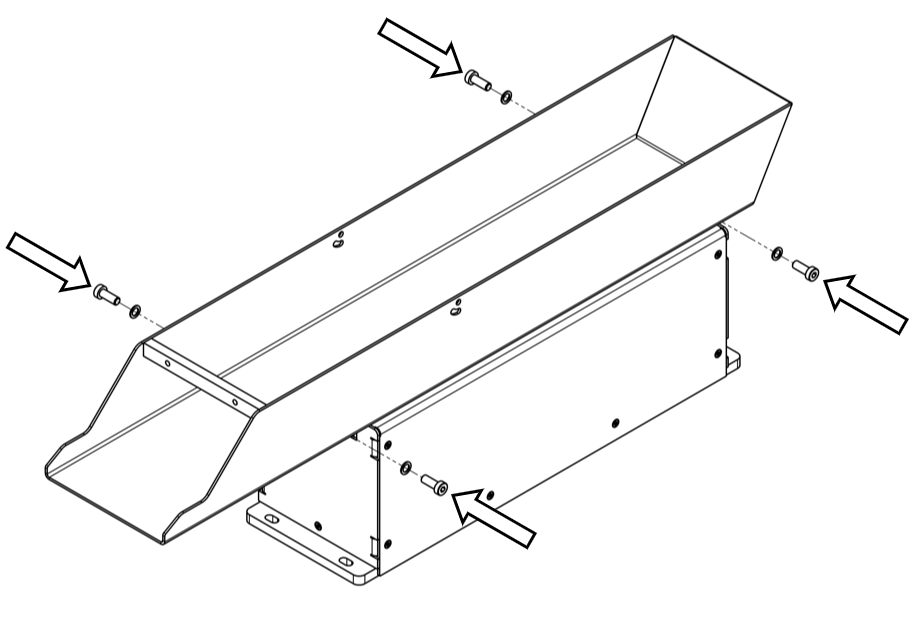
Step 1: Place the container onto the actuator base and align the fixation holes.
Step 2: Place the 4 screws and washers loosely in the fixation holes. Tighten them only when all the four screws are in place with the specified torque given in Table 3.
Important
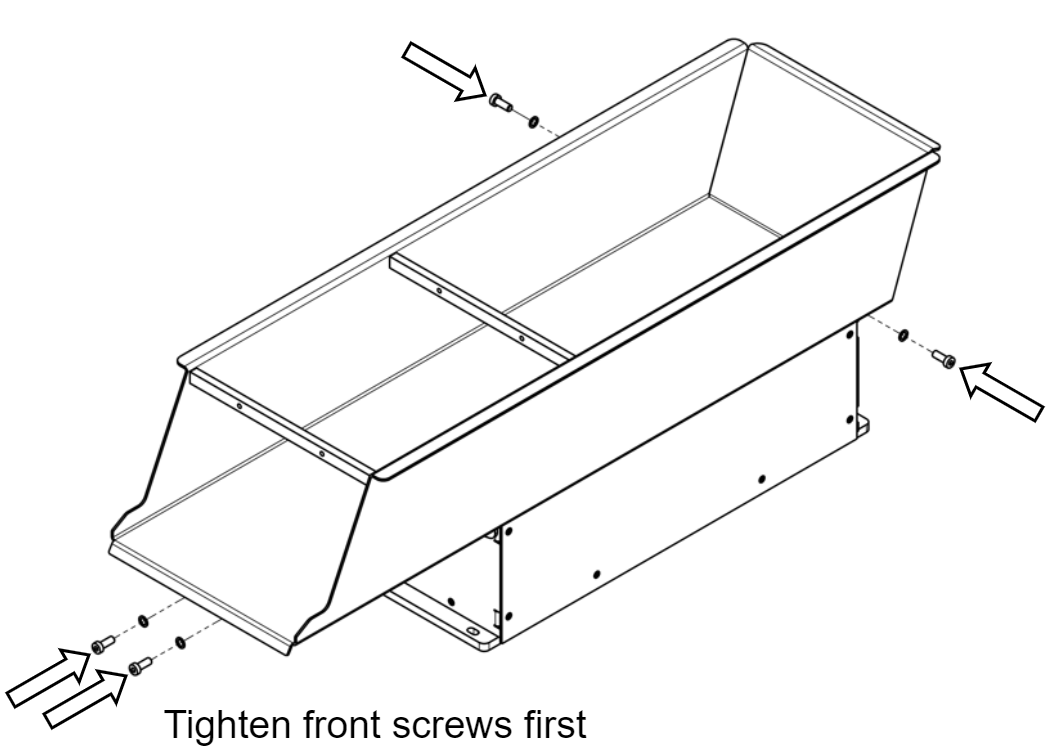
For the Asyfill L, you must tighten the front screws first. Failure to follow this instruction could cause the Asyfill L to malfunction and damage the system
Important
When installing the container, first install the 4 screws and washers loosely. Tighten them only when all the screws are in place. To work properly, we recommend tightening the 4 screws of the container with the specified torque given in Table 3.
Important
Modification of the container is done on your own responsibility:
Removing material by machining or cutting the container must be avoided, it can impact the rigidity of the system and its proper functioning.
If modifications are to be undertaken, the container MUST be removed from the actuator base before any drilling operations, see how to remove the container.