容器の組み立て方法
注意
指を挟む危険性があります。容器とアクチュエータのベースの間に指を入れないでください。
注意
アジフィルは、容器を設置する前に電源を入れないでください。容器を設置する際は、すべてのケーブルを必ず外してください。
アジフィルの型式 |
容器のネジ |
工具が必要 |
固定トルク |
|---|---|---|---|
アジフィル S 1/2L |
M5 |
5 mm Hex |
5.5 Nm |
アジフィル M 3/7L |
M6 |
5 mm Hex |
9 Nm |
アジフィル L 14L |
M6 |
5 mm Hex |
9 Nm |
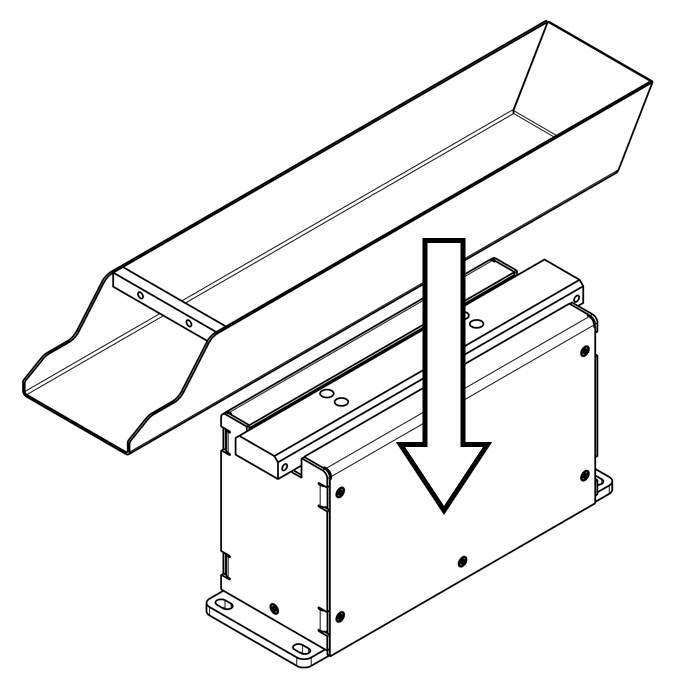
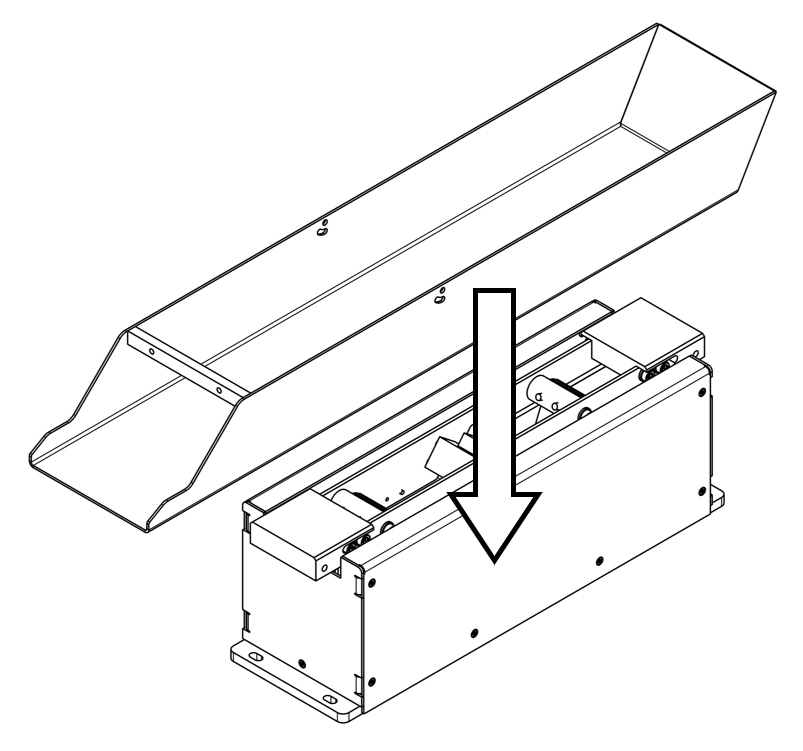
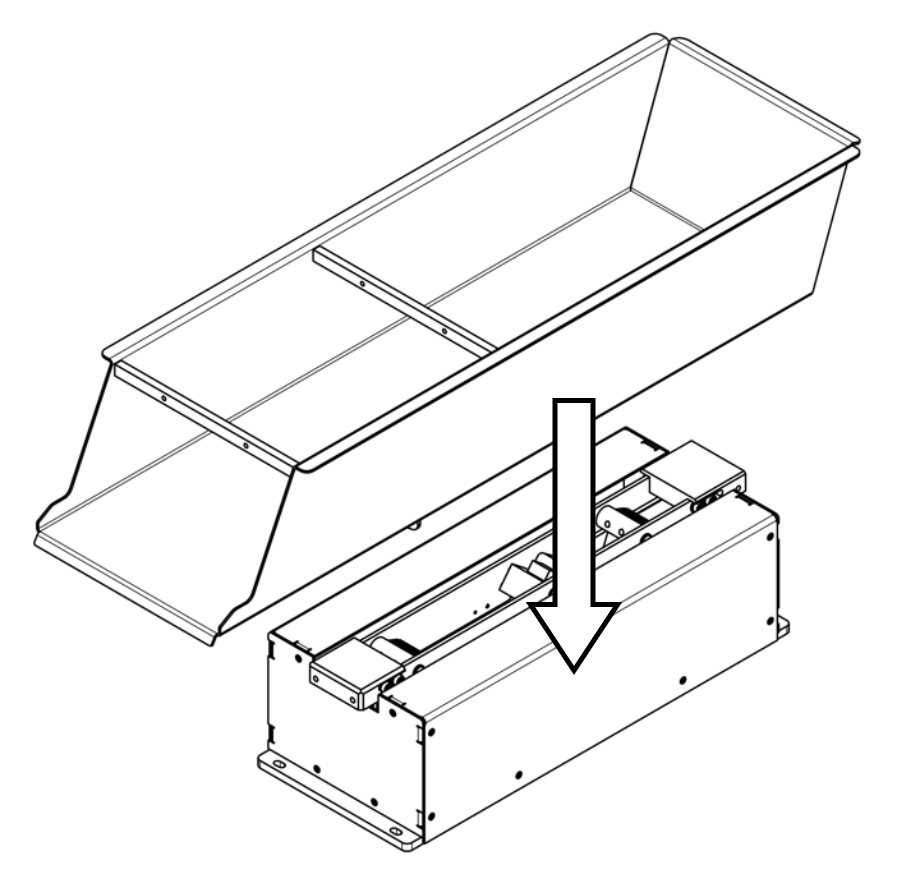
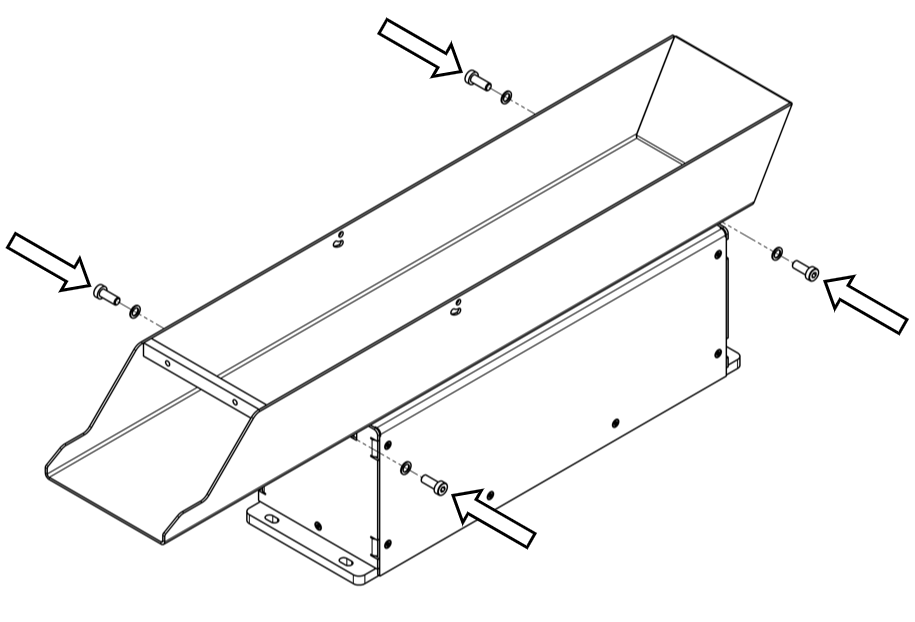
【ステップ 1】 容器をアクチュエータのベースに置き、固定穴の位置を合わせてください。
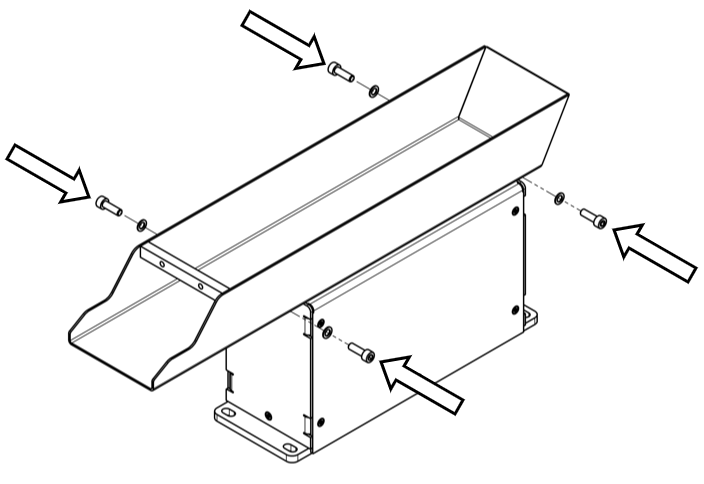
【ステップ2】 4本のネジとワッシャーを固定穴に緩く締めます。4本のネジがすべて所定の位置に収まったら、 表 3 にあるトルクで締めてください。
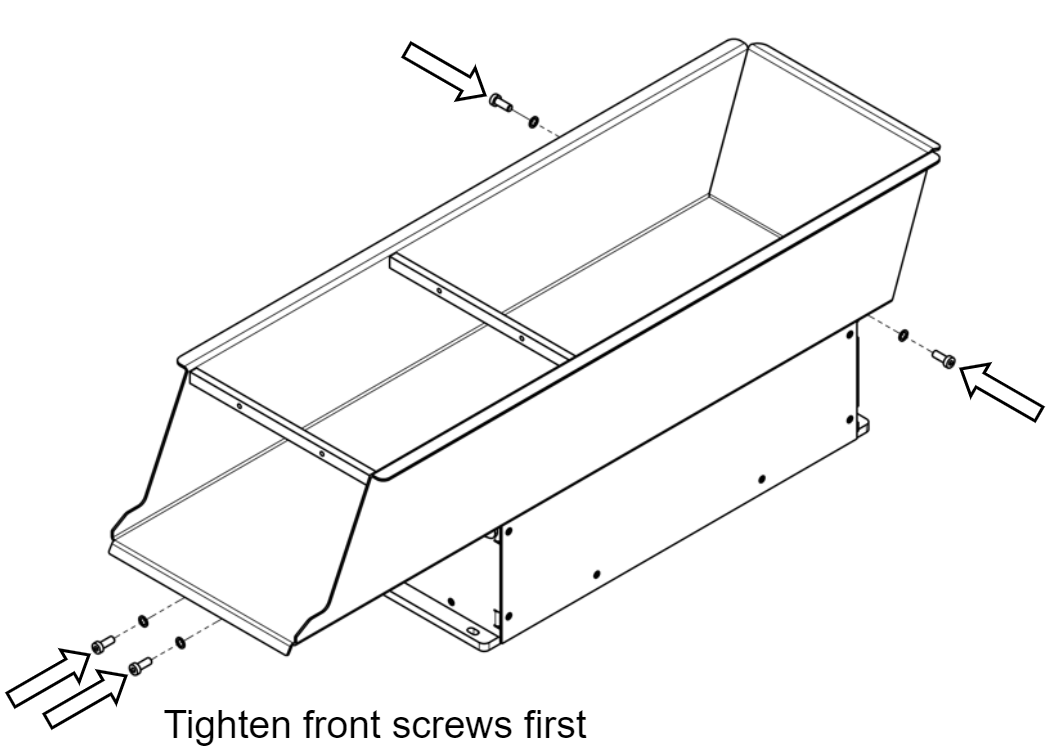
重要
** アジフィル L の場合、まず前面のネジを締めてください ** 。この指示に従わないと、アジフィル L が誤動作し、システムを損傷する可能性があります。
重要
容器を取り付ける際は、まず 4本のネジとワッシャーを緩めに取り付けてください。すべてのネジが所定の位置に来てから、ネジを締めます。正しく動作させるために、コンテナの 4本のネジを 表 3 のトルクで締めることをお勧めします。
重要
Modification of the container is not Asyril's responsibility:
Removing material by machining or cutting the container must be avoided; it can impact the rigidity and proper functioning of the system.
If modifications are to be made, the container MUST be removed from the actuator base before any drilling operations, see how to remove the container.