Montage des Asyfills
To guarantee proper behavior of the Asyfill, a tight fastening to a solid base is necessary. Incorrect installation of the Asyfill could compromise performance. The four holes of the base plate can be used to fix the Asyfill mechanically with M6 screws. Refer to the section Overall dimensions to get the nominal dimensions of the fixation interface of the Asyfill.
Tipp
Studieren Sie die 3D-Modelle des Asyfills.
Lesen Sie den Abschnitt Kombination von Asyfill und Asycube.
Wichtig
Bei der Montage des Modularen Befestigungsbausatzes für Asyfill M und L darf beim Anziehen der 4 M6 Schrauben ein Drehmoment von 4 Nm nicht überschritten werden.
Integration mit Asycube
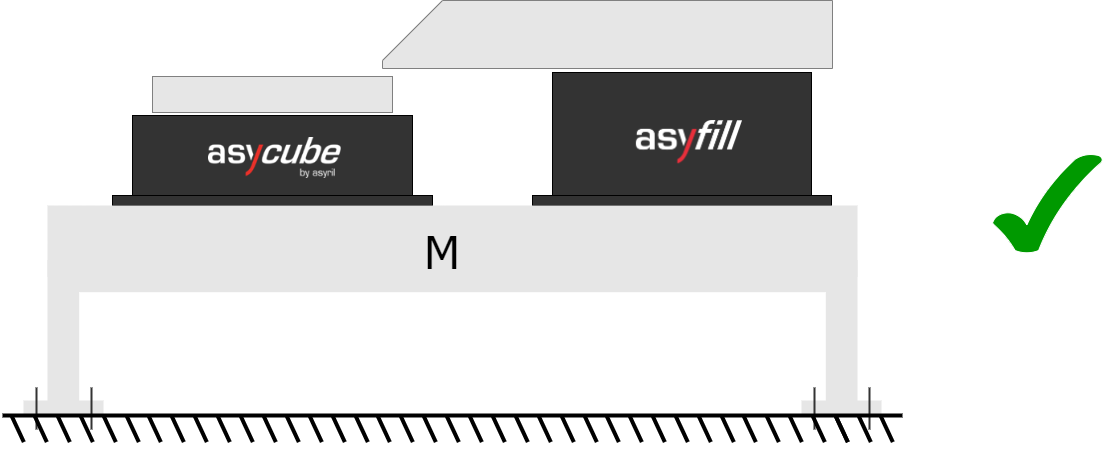
In Abb. 8 ist ein Integrationsbeispiel gezeigt, wo der Asyfill auf der gleichen stabilen Unterlage wie der Asycube befestigt ist. Bei der Integration des Asycubes müssen die im Abschnitt Mechanische Integration des Asycubes beschriebenen Richtlinien eingehalten werden.

Abb. 8 Integration von Asyfill und Asycube
Regeln für die Integration
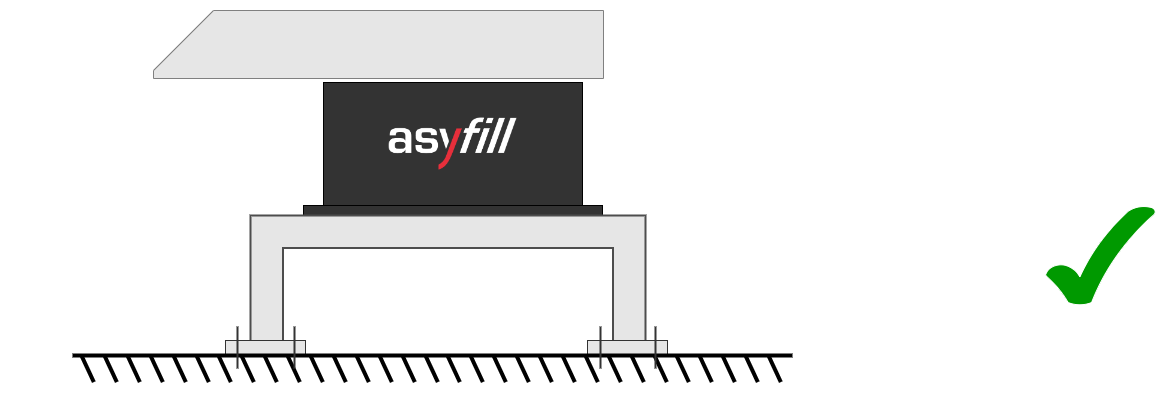
In Abb. 9 bis Abb. 11 sind gute und schlechte Integrationsbeispiele aufgeführt. Grundsätzlich empfehlen wir, den Asyfill direkt auf dem Maschinenrahmen zu montieren.

Abb. 9 Korrekte Integration von Asyfill
Wichtig
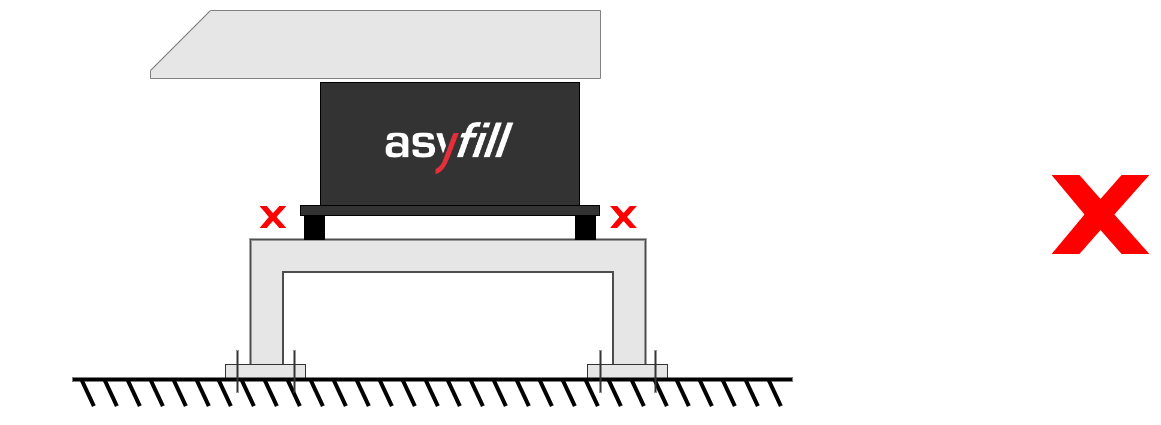
Never attach Asyfill directly to vibration isolators, Asyfill already integrates vibration isolators in its housing. Using external vibration isolators would cause the inside of the Asyfill to vibrate more than the container itself and could irreversibly damage the electronic controller.

Abb. 10 Montieren Sie einen Asyfill nicht auf Schwingungsdämpfern
Wichtig
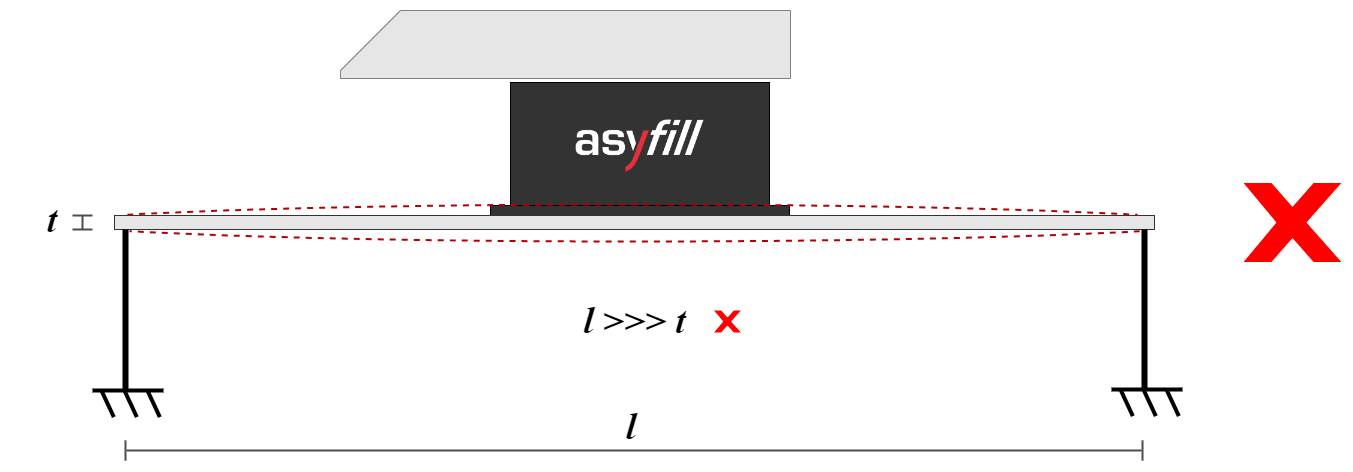
Montieren Sie den Asyfill niemals auf einer weichen Unterlage oder einem instabilen Tisch.

Abb. 11 Montieren Sie einen Asyfill nicht auf einem instabilen Tisch.